Why Use Git with Power BI?
Git is a widely adopted version control system that enables teams to track changes to their code and collaborate efficiently. While Power BI offers collaboration features like sharing workspaces and reports, some users prefer Git for several reasons:
Version Control: Git allows you to track changes to your Power BI reports and datasets over time. This means you can easily revert to previous versions if needed.
Collaboration: Git enables multiple users to work on the same Power BI project simultaneously without conflicts. Changes can be merged seamlessly.
Code Review: Git provides a structured way to review and approve changes before they are incorporated into the main Power BI project.
Branching: Git’s branching system allows you to experiment with new features or changes without affecting the main project. This is useful for testing and development.
Backup: Git serves as a reliable backup system for your Power BI assets, ensuring that important work is never lost.
Now, let’s explore how to manage a Power BI workspace with Git:
Setting Up Git for Power BI
Connect a workspace to an Azure repo
Only a workspace admin can connect a workspace to an Azure Repo, but once connected, anyone with permission can work in the workspace. If you’re not an admin, ask your admin for help with connecting. To connect a workspace to an Azure Repo, follow these steps:
- Sign into Power BI and navigate to the workspace you want to connect with.
- Go to Workspace settings

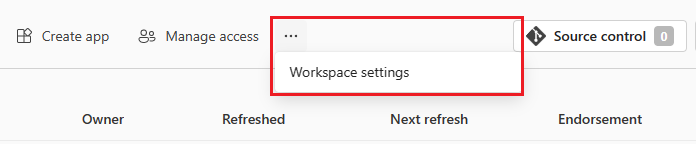
3. Select Git integration. You’re automatically signed into the Azure Repos account registered to the Azure AD user signed into Fabric.
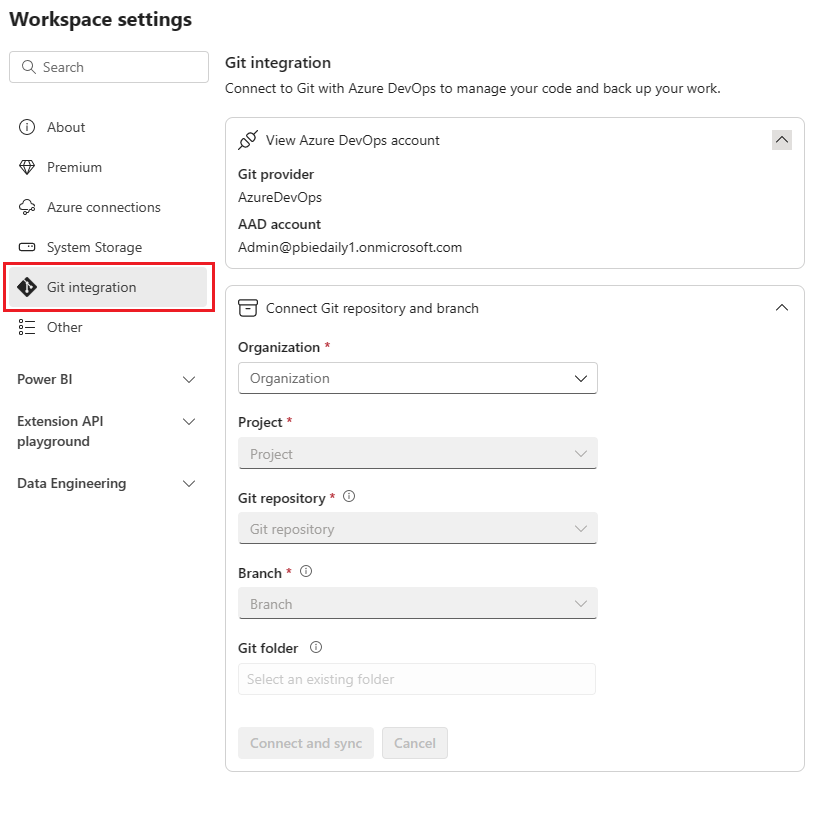
4. From the dropdown menu, specify the following details about the branch you want to connect to:
Note
You can only connect a workspace to one branch and one folder at a time.
- Organization
- Project
- Git repository
- Branch (Select an existing branch using the drop-down menu, or select + New Branch to create a new branch. You can only connect to one branch at a time.)
- Folder (Select an existing folder in the branch or enter a name to create a new folder. If you don’t select a folder, content will be created in the root folder. You can only connect to one folder at a time.)
5. Select Connect and sync.
During the initial sync, if either the workspace or Git branch is empty, content is copied from the nonempty location to the empty one. If both the workspace and Git branch have content, you’re asked which direction the sync should go. For more information on this initial sync, see Connect and sync.
After you connect, the Workspace displays information about source control that allows the user to view the connected branch, the status of each item in the branch and the time of the last sync.

To keep your workspace synced with the Git branch, commit any changes you make in the workspace to the Git branch, and update your workspace whenever anyone creates new commits to the Git branch.
Commit changes to git
Once you successfully connect to a Git folder, edit your workspace as usual. Any changes you save are saved in the workspace only. When you’re ready, you can commit your changes to the Git branch, or you can undo the changes and revert to the previous status. Read more about commits.
To commit your changes to the Git branch, follow these steps:
- Go to the workspace.
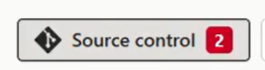
- Select the Source control icon. This icon shows the number of uncommitted
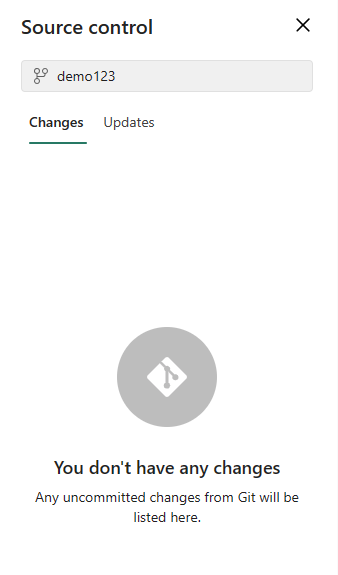
3. Select the Changes tab of the Source control pane. A list appears with all the items you changed, and an icon indicating if the item is new , modified , conflict , or deleted .
4. Select the items you want to commit. To select all items, check the top box.
5. Add a comment in the box. If you don’t add a comment, a default message is added automatically.
6. Select Commit.
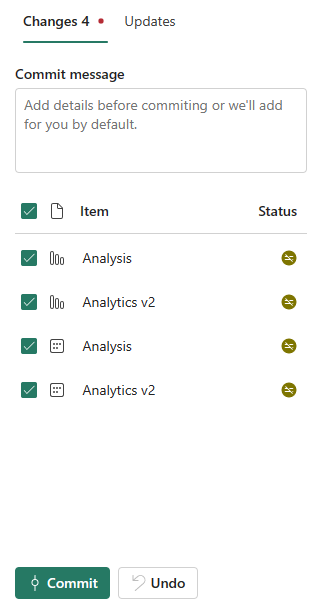
After the changes are committed, the items that were committed are removed from the list, and the workspace will point to the new commit that it’s synced to.
After the commit is completed successfully, the status of the selected items changes from Uncommitted to Synced.
Update workspace from Git
Whenever anyone commits a new change to the connected Git branch, a notification appears in the relevant workspace. Use the Source control pane to pull the latest changes, merges, or reverts into the workspace and update live items. Read more about updating.
To update a workspace, follow these steps:
- Go to the workspace.
- Select the Source control icon.
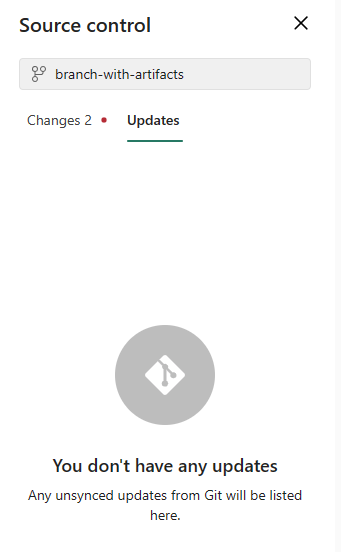
- Select the Updates tab of the Source control pane. A list appears with all the items that were changed in the branch since the last update.
- Select Update all.
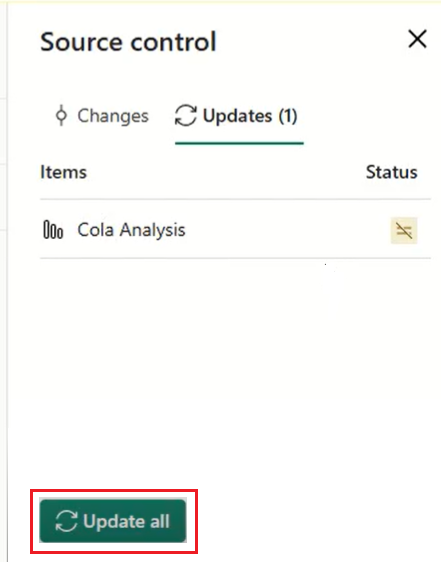
After it updates successfully, the list of items is removed, and the workspace will point to the new commit that it’s synced to.
Disconnect a workspace from Git
Only a workspace admin can disconnect a workspace from an Azure Repo. If you’re not an admin, ask your admin for help with disconnecting. If you’re an admin and want to disconnect your repo, follow these steps:
- Go to Workspace settings
- Select Git integration
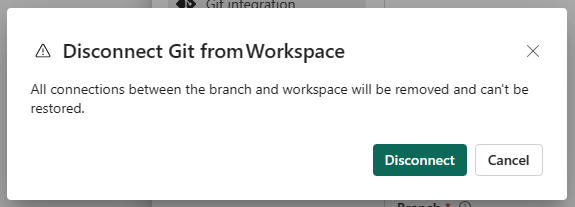
- Select Disconnect workspace
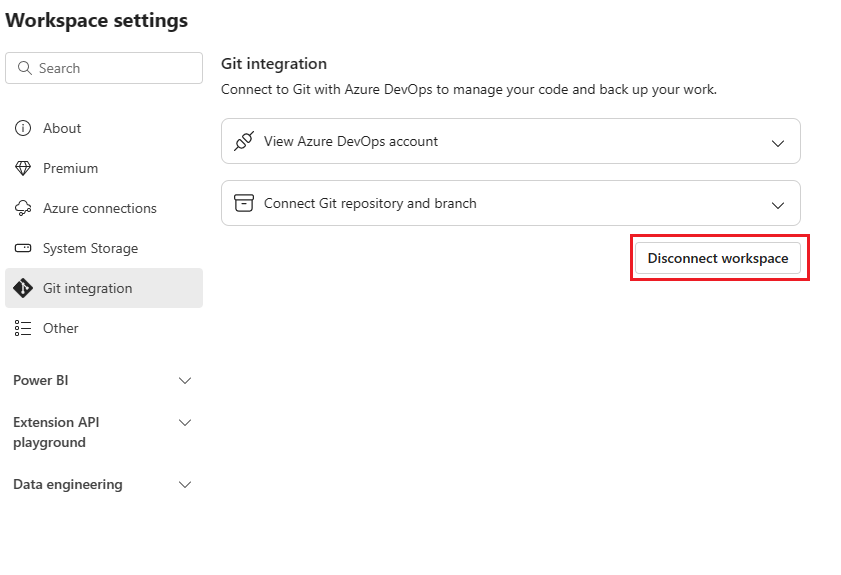
5. Select Disconnect again to confirm.
Conclusion
Managing a Power BI workspace with Git provides version control, collaboration, and organization benefits that can streamline your Power BI project management. By integrating Git into your workflow, you can work more efficiently and ensure the integrity of your Power BI reports and datasets.